
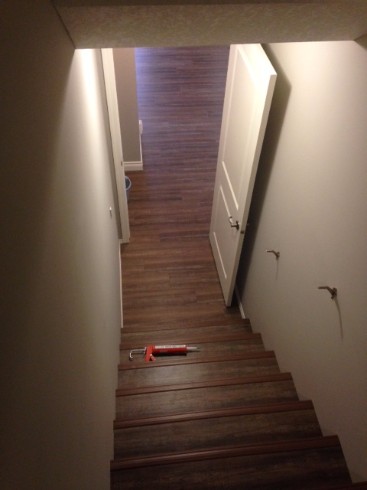
I'm prepping to open up a preschool with a part of my photography in 2016, called Playtography!!! My carpet has been ripped out, and have had vinyl planking finish being installed today!! The flooring is another story. Today is about my storage benches!
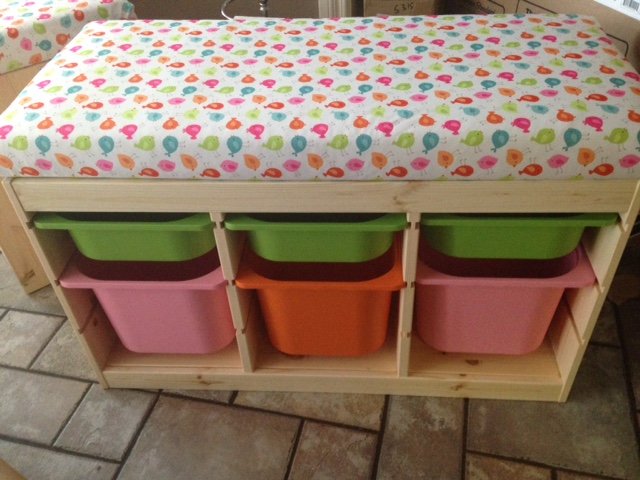
After I had finish painting the walls, I have been shopping for toys, and furniture. I liked the idea of the Ikea Trofast storage. I could put this in the entrance way of when the preschoolers come in their preschool door. They will put their boots in the bigger bottom container, and a place for mittens or hats, above this container. I can switch up the containers, for more storage, if just storing shoes. I wanted it to be really inviting and comfortable. So, I decided to add a soft seat on top!
First stop, was the fabric store. Fabricland, to see my fabric choices. I wanted the fabric to be waterproof, and I love this diapering material! So adorable! Although at the first location they didn't have enough, so I wasn't sure which fabric I was going to choose. I also made a trip to Walmart to see how much the foam was, but it didn't come wide enough for what I needed. I went off to Ikea to pick up 3 of these storage trofast, to make 2 padded benches, and also see what colour of plastic bins they had.

I was so excited to find more of this fabric at a different fabric land location, as I thought the colour of the birds suited the colour of the containers, better than the other fabric choices. I found foam and batting at the fabricland, too!
I knew my length was 37 inches, and 17 3/4 wide. I was aiming to make sure my foam, and fabric, would fit this. I was aiming to get 37 inches long, by 17 inches wide. I bought more than I need with the fabric, as I had forgotten it had two sides! Might have to make some cushions for the reading time area!!
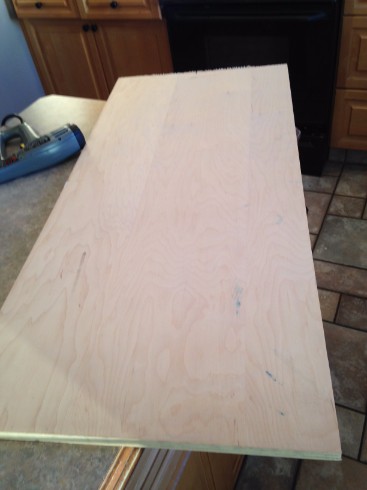
I went to Lowe's and an associate, found me a 1/2 piece of scrape maple for the cost of $1.00! It would of cost me $63!!! I got two cuts out of this piece of wood, for 2 benches! I got it cut to the proper dimensions before I left.
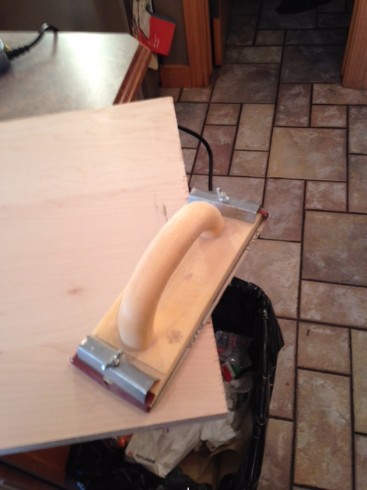
I also picked up a handy dandy electric staple gun. Check the staples you get...so you don't have to go back, and get the right ones!!
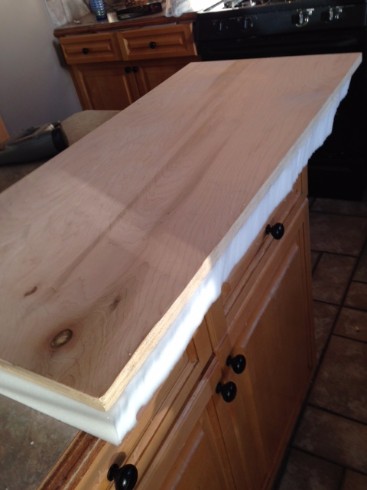
First thing, I had to do was sand down the edges, of the rough side of where it was cut.
Then I lined up the foam. I didn't go with rubber foam, I felt it was too dense.
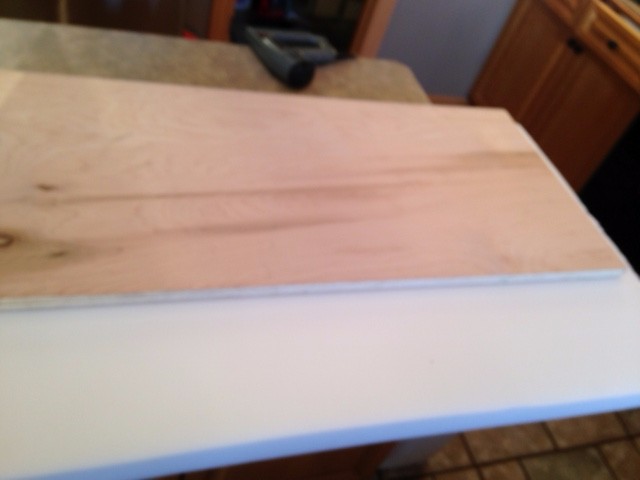
I didn't have an electric knife, but a bread knife is what is needed to cut the foam.
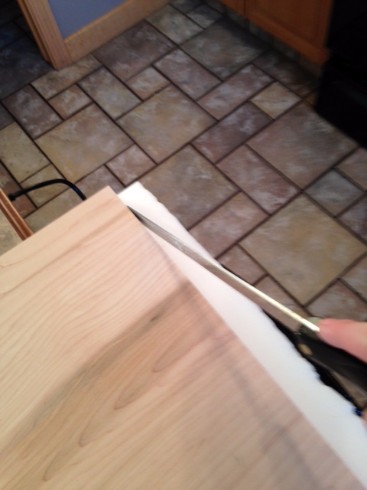
A bit raw, might be better with an electric knife.
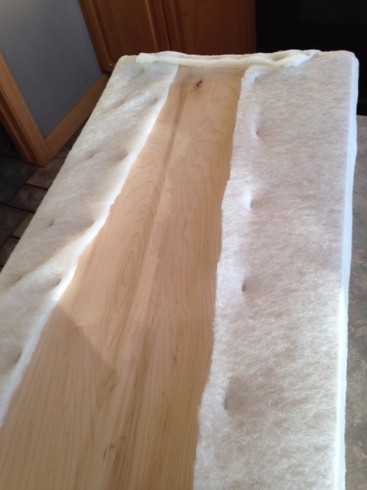
Next put the batting on under the foam, and wrap up on the board, and staple.
Then repeat with the fabric, and make sure you put the fabric on straight.
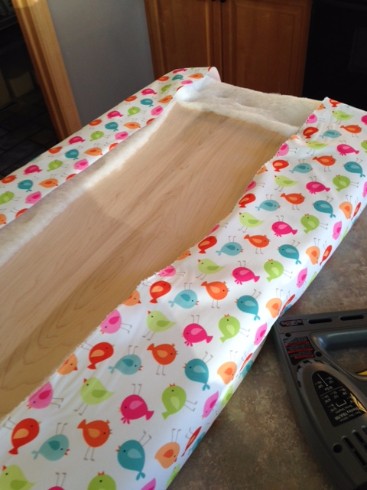
I tucked in the corners, just like if I was wrapping a present. Then when all done, you use wood screws to screw from underneath the top of the trofast storage into the wood. Add bins, mission accomplished!!
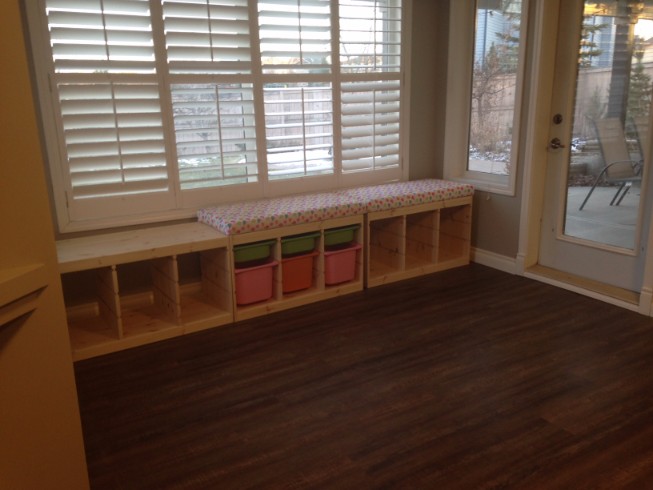
The 3rd trofast storage, I wasn't going to add a bench, and maybe do a lego table, or leave it blank, as it wasn't ideally intended for this area...but when I lined it up in my area...I think I might be heading back to buy more foam and another piece of scrap wood! What do you think? It just looks like they all should belong up against this wall.
Alrighty an actual pinterest success! This is where I first saw the idea , using other bookshelves from Ikea.
See 20 other ways to hack your own Trofast storage here!
Now to get more wood, foam, and work on the window coverings, website, finish photograph albums, lesson plans...oh the list continues!!
Christina
Ps...excuse the crappy iphone 5 photos.
Leave a comment
0 Comments